

On all orders before 3:00pm over £150


On all orders before 3:00pm over £150

Single Knowledgeable Point of Contact

Live Stock & Wholesale Pricing

Mon-Fri 8:00am – 4:00pm
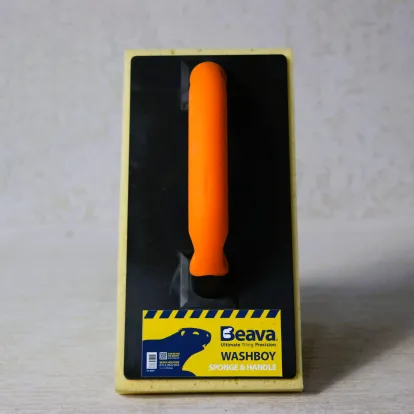
Our Beava Washboy is everything that you need as a pro tiler for efficiently removing excess grout from tiling projects on a daily basis. Designed with handy mechanisms such as the spirowash system and detachable wheels, the washboy becomes an all-in-one grout cleaning system, especially when included as a part of the kits.
Designed with comfortable handles, the washboy makes grout cleaning no longer feel like a chore, but a satisfying part to your routine that occurs in all kinds of tile installations. Take a look at our washboys and become inspired by their handy cleaning systems!
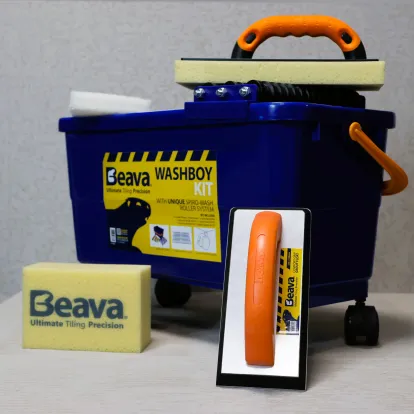
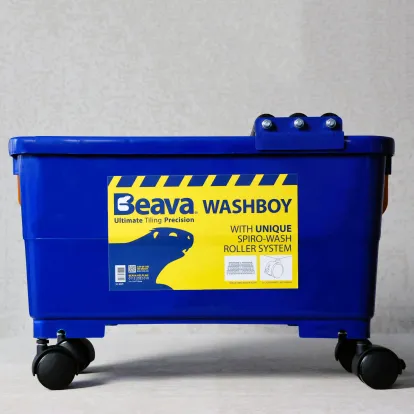
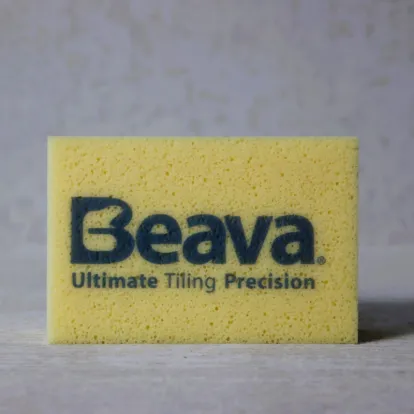
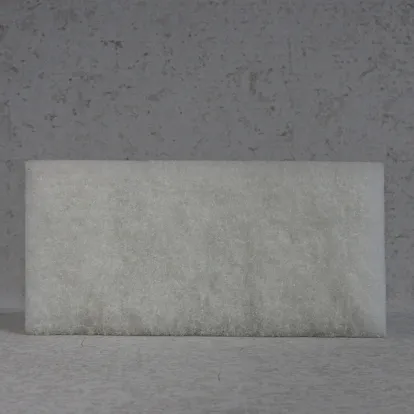
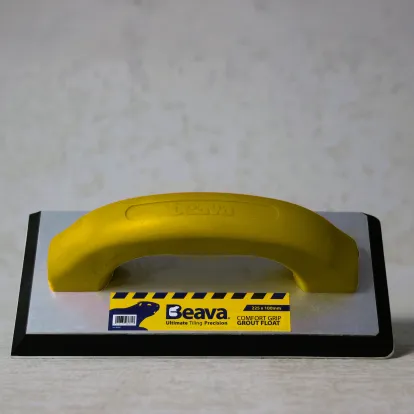
Our washboys are available as parts of sets or sold individually. Designed with a unique spirowash roller system, the Beava Wash Boy is an essential must-have for DIY enthusiasts and pro tilers alike. Let’s take a look at some of the washboy products and kits we sell:
The Beava Washboy (Sold Separately)
The Beava Washboy is every tiler’s dream accessory when it comes to cleaning up excess grout from tiles during the installation process. Designed with detachable plastic castor wheels with brakes, the washboy will stay in place when in use and can be easily transported to other areas of the room. Its spiro-wash system efficiently cleans any excess grout and ensures the sponge is damp rather than soaking wet.
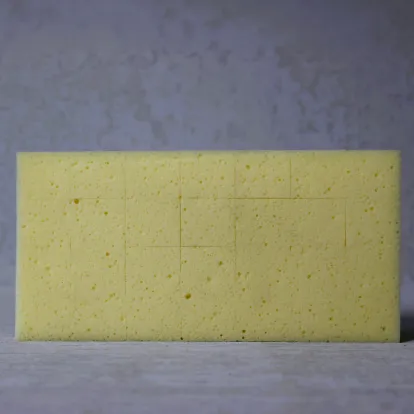
Our washboy grout cleaning kit not only comes with the washboy itself, but it also includes a variety of other handy accessories, making it a complete mobile grout cleaning system. These secondary products include a Hydro Sponge, a grout float and a scouring pad. As a professional tiler, you’ll love this set because it becomes an all-in-one movable system for efficient grout cleaning.
Professional tilers, and even those who are novices, love the Beava washboy for its numerous benefits. Let’s take a look at how the Beava washboy is specifically engineered to make grout cleaning enjoyable and efficient:
Detachable Wheels
The wheels of the washboy make it so much easier for you to move it around without necessarily having to carry it to other areas of your tiling projects. These wheels have brakes to make your washboy secure and fixed in one place, reducing the risk of spillages. Plus, these wheels are fully detachable which is ideal for transporting the washboy in your van when travelling from job to job. This benefit is also a great space-saving solution!
Spiro-wash System
What makes the Beava washboy truly shine is the spirowash system: this wrings out any excess grout and water, so you’ll end up with just the right amounts on your sponge. You can keep your tiled area clean and drier thanks to your new washboy.
Effective Bucket Design
The washboy bucket is designed with a generous 24 L volume capacity, featuring a built-in ridge. This mechanism adds strength and durability to the washboy, ensuring that it doesn’t buckle when containing a high volume of water and excess grout.
Comfortable & Ergonomic Handle
The handle of the bucket features a grip, so you’re sure to carry it safely and comfortably even when the bucket is wet. This handle allows you to carry the bucket with ease from day to day, whether you’re cleaning grout from a new kitchen splashback or carrying the bucket through a busy job site.
When cleaning excess grout, using the washboy is as simple as ever - and that’s why pro tilers love them so much. Helping you turn a messy job into a quick routine, these simple steps will result in beautiful tile finishes created by you in no time:
Step 1: Fill The Washboy Bucket To The Grid
Apply the brakes of the bucket to secure it and then fill the washboy with clean, cold water all the way up to the grid. Ensure that around 20mm of clean water sits above the internal plastic grate to leave the top portion of water completely clear for washing, while the space underneath the grate acts as a "trap" for heavy grout sludge to sink into.
Step 2: Dunk The Beava Hydro Sponge
Dunk the Beava Hydro Sponge so it’s entirely submerged in the clean water.
Step 3: Use The Spiro Wash Rollers
Once you have dunked your sponge into the cold water of the bucket, you can go ahead and then place it flat on top of the spiral rollers. Roll the sponge horizontally across the rollers away from you once or twice to ensure that the spiral grooves squeeze out any excess water into the bucket.
Step 4: Wipe The Tiles Diagonally
After having made sure your sponge is damp rather than soaked, you can now wipe excess grout from the tiles in a diagonal motion. Wiping diagonally ensures the sponge glides smoothly over the tiles, leaving the joints flat and full.
Step 5: Rinse & Repeat!
After wiping excess grout 2-3 times from your tiling project, you’ll notice that the sponge will be covered in grout film. You can repeat steps 3-5: dunk it back into the water, scrub it against the grate, roll it across the Spirowash system, and keep going until you have a perfect finish.