

On all orders before 3:00pm over £150


On all orders before 3:00pm over £150

Single Knowledgeable Point of Contact

Live Stock & Wholesale Pricing

Mon-Fri 8:00am – 4:00pm
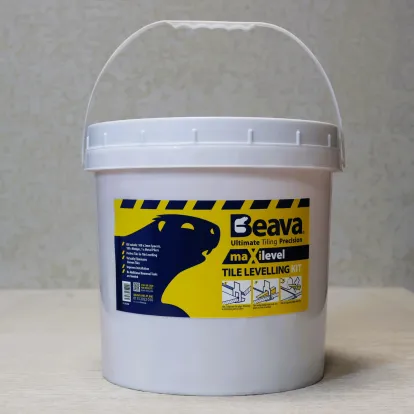
Ensure even spacing and a level, professional tile finish on every project with our range of tile levelling systems. From traditional t-shape tile spacers and tile wedges to innovative ‘twisting’ T-Spin spacers that all help to prevent tile lippage.
Our very own Maxilevel range of spacers and wedges are another fantastic choice to ensure perfect tile-to-tile levelling and consistent joints between the tiles too. Or opt for one of our tile levelling kits which includes everything you need to ensure a level, professional finish on all your tiling projects.
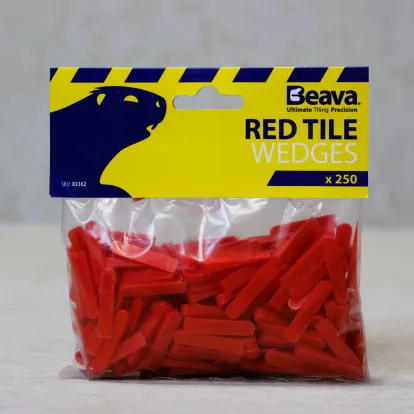
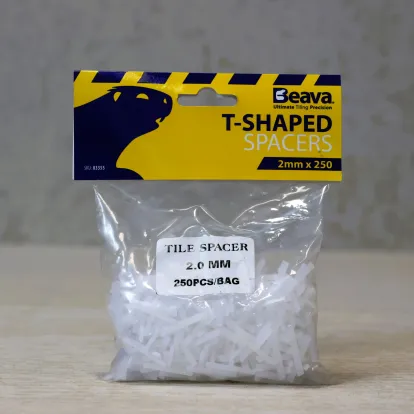
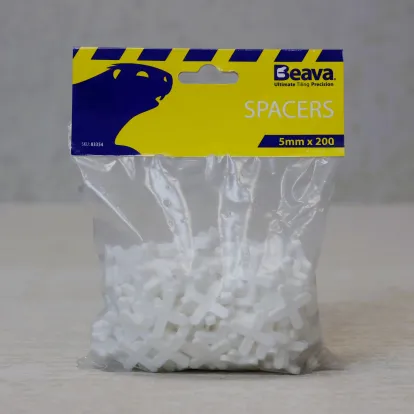
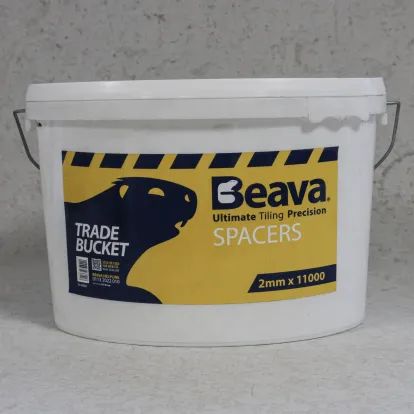
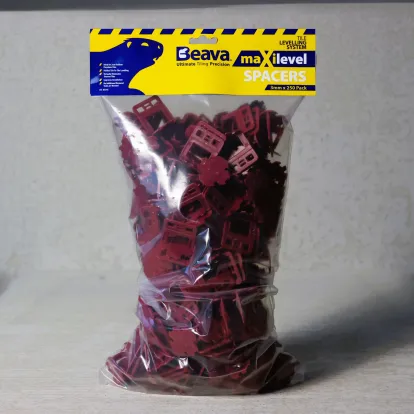
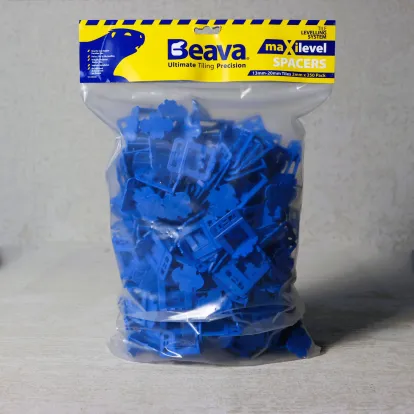
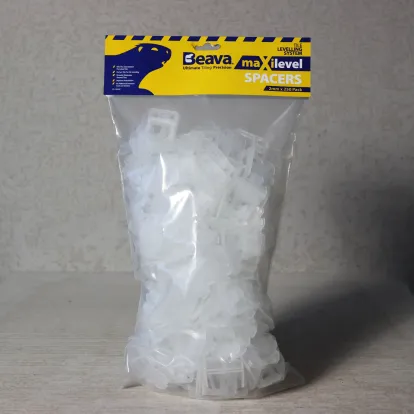
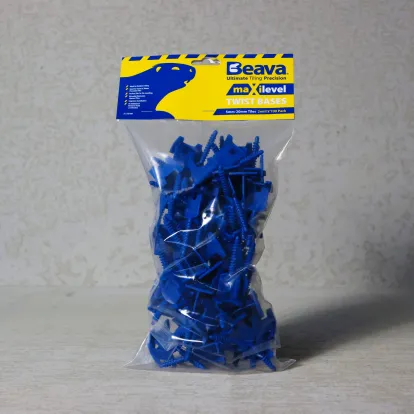
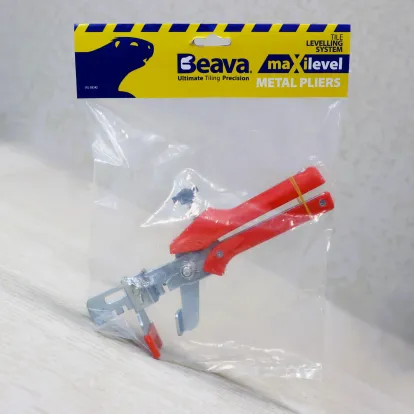
The term ‘Tile Levelling System’ is an all encompassing term for a variety of different tile levelling tools that help to ensure tilers avoid tile lippage when installing tiles. The leveling system often contains spacers and wedges of some kind and pliers which are all used to ensure tiles are perfectly flush with one another. Each one of these tools helps to lock the tiles in place whilst the adhesive sets.
Tile lippage is a common occurrence when laying tiles as walls and floors often aren’t perfectly flat. Uneven tiles are of course unsightly, but then can also be a trip hazard on tiled floors, so it’s really important that tiles are flush with one another after installation.
The traditional tile levelling systems often contain plastic clips, a flat bottomed wedge and pliers. These all work together to apply the downward pressure required to ensure a level finish.
However there are other great alternatives on the market too including the screw cap and clip systems that are simply placed between the tiles and screwed in until you achieve the level finish that’s required.
How you use a tile levelling system all depends on the type of tile levelling system you opt for. Let’s take a look at two common tile levelling tools and how to use them.
Levelling Bases & Wedges
Step 1 - After applying the adhesive to the wall or floor, place one tile onto the surface and then slide your plastic levelling bases/clips underneath the tile. How many you need to use depends on the size of the tile but ensure you will be covering enough of the tile area to apply the pressure required to ensure a level finish.
Step 2 - Next, place the adjacent tile next to the tile you already placed down, ensuring the new tile is positioned on top of the levelling bases too and lined up nicely.
Step 3 - Insert the thinner, narrow end of the spacer/clip into the opening in the levelling base.
Step 4 - Insert the levelling wedge into the spacer opening and repeat for the other bases/clips you’re using.
Step 5 - Now use the pliers to ensure the wedges are locked into place and the tile is level.
Step 6 - Once the adhesive has fully cured, remove the reusable wedges from the clips and use a rubber mallet to knock the clips from between the tiles.
Spin Levelling System
Step 1 - After the adhesive has been applied to either the wall or floor, place one tile onto the surface. Then slide the required number of levelling clips underneath the tile at even spaces from one another.
Step 2 - Next, place the adjacent tile next to the tile you already placed down, ensuring the new tile is positioned on top of the levelling bases too and lined up nicely.
Step 3 - Now place the 'spin' top of the levelling system onto the stem of the clip base and turn it until it’s tight. Repeat this with the other clips until the tile is level.
Step 4 - Once the adhesive has fully cured, use a rubber mallet to knock away the spin levelling clips and remove them from the tile installation.
So as you can see, no matter which tile levelling system you opt for, they’re easy to use and achieve your goal of a nice level tile finish in your installations. It just comes down to personal preference.
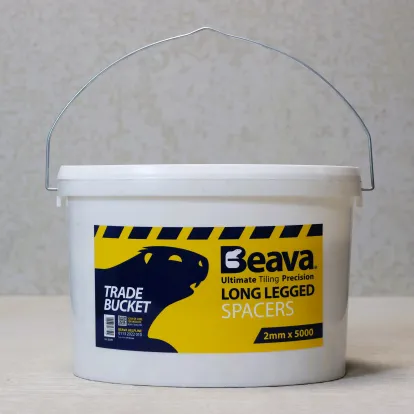
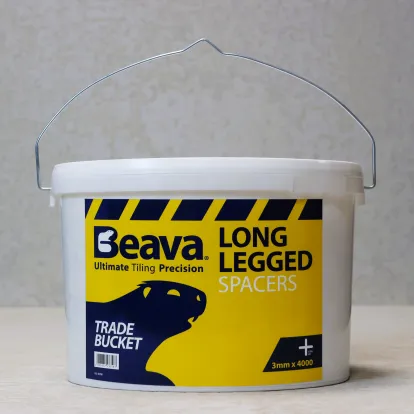
Yes you can and to be honest, it’s certainly recommended to use spacers as they can help to ensure consistent and wider grout joints too. Many levelling spacers create a grout joint width of 2mm - 3mm but if you’d like a wider grout line such as 5mm, more traditional spacers can help you to achieve this.
Yes, tile levelling systems aren’t only useful on floor tiling projects, they’re a great option for wall tiling projects too. The spacers and clips help to secure tiles to the wall and prevent them from sagging down the wall, which is especially useful for heavier wall tiles. It’s vitally important that you use enough adhesive when tiling walls though to help secure them into place.
It’s certainly possible to ensure your tiles are installed level on your tiling project without using a tile levelling system, but it requires meticulous subfloor preparation to ensure any dips are levelled out which then needs corroborating with a 360 degree laser level to establish a datum point.
You’ll also need to back butter each tile to minimise air pockets and help with any height adjustments required. On top of that you’ll have to manually check for any tile lippage across the entire floor or wall and potentially create larger grout lines to hide minor, unavoidable variations in tile height that are probably bound to happen.
Tile levelling systems are designed to significantly reduce and in most cases eliminate uneven tile edges during installation. Not only that, they also save tilers time too. Whilst you still have to ensure the surface is prepared correctly, utilising a tile levelling system is a much more time efficient and effective way to ensure a professional, even tile finish.