

On all orders before 3:00pm over £150


On all orders before 3:00pm over £150

Single Knowledgeable Point of Contact

Live Stock & Wholesale Pricing

Mon-Fri 8:00am – 4:00pm
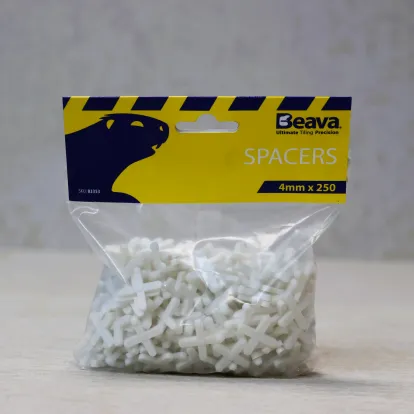
Our wide range of tile spacers has everything you need to ensure precision when placing tiles. Whether you’re installing tiles on the wall or floor, we’ve got a suitable tile spacer for your needs.
From more traditional Cross and T-Shape tile spacers to T-Spin spacers that help to both evenly space out your tiles but also hold them into place too. There’s also our very own Maxilevel range of tile spacers to choose from too which when used in conjunction with our tile wedges help to ensure tile to tile levelling every time.
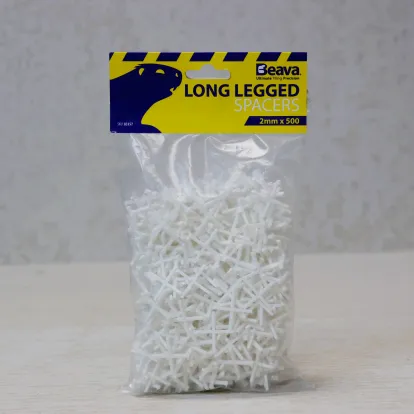
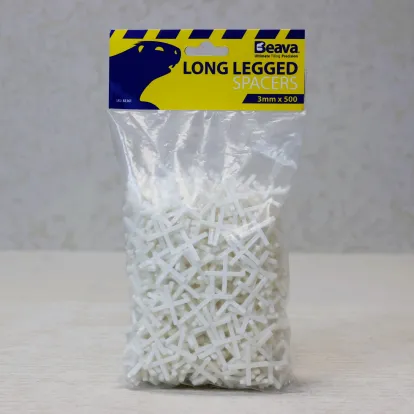

There are a few different tile spacers available to use on your projects and the most suitable one will come down to a few variables.
Let’s take a closer look at each tile spacer type you can purchase.
Cross Spacers - These spacers are one of the most traditional tile spacers available on the market having been invented during the 1950’s. Shaped like an +, these small plastic spacers are a great option to ensure even spacing between tiles during installation.
T-Shape Spacers - Much like cross spacers, these are named after their shape and are an alternative option when looking to create even spacing between tiles during installation. Placed in intersections, the two sided edge is usually utilised for perimeter spacing, brick bond and herringbone pattern tiling.
T-Spin Spacers - These are a versatile option that doubles up as a tile levelling system too. You simply place the t-shaped base underneath the tiles and spin the spacer cap until the tiles are level and then securely locked into place. By applying these to each joint throughout the installation you can look to ensure an even finish, eliminate lippage and create perfectly flat grout lines too.
Tile Levelling Systems - Whilst not a ‘type’ of spacer, tile leveling systems include different types of spacers to help ensure a level finish for your tiles. For example, our Maxilevel spacers when combined with our Maxilevel wedges help to protect against tile lippage and facilitate even spaces between tiles for grouting.
So as you can see, there’s plenty of options when it comes to tile spacers and you’ll find them all in our range.
Whilst there are nuances to the way in which tile spacers are used depending on the type of spacer you opt for, the core principle is still the same. They are placed in between tiles during installation to ensure a consistent and even gap for grout lines between each tile to ensure a neat and professional finish.
Whilst cross and T-shape tile spacers are usually placed in the corners of tiles and where ends meet, T-Spin and Maxilevel spacers are often placed evenly around the sides of tiles instead to help ensure a level finish. Cross and T-shape spacers can also either be pushed completely into the joint or ‘vertically’ with one of the spacer ends jutting out from the flush surface, making them easier to remove.
Tile spacers are available in a wide variety of sizes, ranging from 1mm to 10mm. Usually the smaller sizes (1mm-3mm) are used on walls, with the larger range (3mm-10mm) generally used on floors. But of course your chosen spacer all comes down to the size of the tiles and the chosen aesthetic too.
2mm is the most popular size due to the fact it can often be used on both walls and floors and helps to provide a grout line size that many will recognise. Whilst tile spacers that are 4mm or more are usually reserved for heavy, large format tiles, the type you’d usually find outdoors on patios
This will entirely rest upon the number of tiles you’re installing, the size of those tiles and the type of spacers you opt for. But a good rule of thumb is to ensure you have at least 4 spacers per tile, especially if you’re using cross or T-shape spacers. Larger tiles may require more spacers, especially if you’re using the levelling spacers to ensure no lippage too.
It’s also recommended that you buy extras to be safe, we’d recommend you look to purchase 20-30% more than the calculated amount to protect against any delays on your project.
Whilst the use of tile spacers isn’t ‘necessary’ when installing tiles, they’re the easiest way to ensure consistent grout lines and an even, professional finish across your entire tile project. Spacers help to prevent any movement during the curing process, minimise tile lippage and help to protect the grout installation long after they’re removed.
For example, if your grout lines are too narrow, that can promote cracking, especially when using larger tiles. If the joints are uneven in their appearance it can create weak spots too, on top of ruining the entire aesthetic as well.
So whilst tile spacers aren’t necessary, they’re the best way to ensure even, consistent grout lines and a professional finish on your tile installations.
Whilst removing the tile spacers before grouting is the ideal solution, Cross & T-Shape tile spacers can be left in the joints, providing that they’re sunk in sufficiently to ensure the grout covers them completely.
Levelling spacers will need to be kicked out or bashed away using a mallet, leaving only the small base of the spacer underneath the tiles. It’s important to ensure there’s no part of the remaining spacers protruding above where the grout finish will be.